Photo to Line Drawing - viewed times
Introduction |
| There are several Photoshop techniques to convert a photograph to a line drawing. One of them was already discussed in the Drawing/Painting effect Photoshop tutorial.
That Photoshop technique was based on the Film Grain filter. Most of these kind of conversions are done in Photoshop with filters like Smart Blur, Find Edges or Glowing Edges. In this Photoshop tutorial I'm showing a recently discovered technique that I haven't seen anywhere else and that's the reason why I'm sharing it with you. The technique is based on two filters:
|
1. Select the right image |
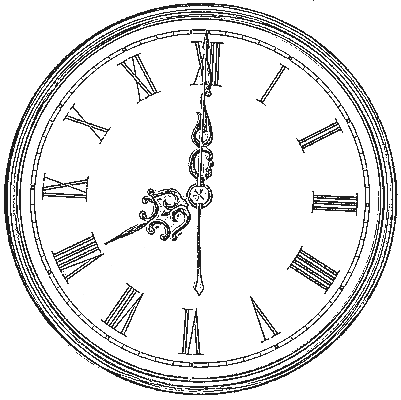
In my example I've opened the image of a clock in Photoshop.

Duplicate this background layer by clicking on its icon
in the layers palette and while holding the mouse
button,
drag and drop it on the Create
a New Layer icon ![]() .
.

First press Ctrl + D (Command
+ D on the Mac) to change the foreground color to black: ![]()
2. Apply High Pass Filter |
Select a very small radius. The radius depends on the size of the image. In my example I've chosen a radius of only 0.3 pixels.

Just make sure that you don't use too much radius like in this example:

3. Apply Note Paper filter |
Use the following values:
- Image Blance: 25 (depends on the image, experiment)
- Graininess: 0
- Relief: 0
The result looks like this:

4. Convert gray lines to black |
Select in the menu: Image / Adjustments / Threshold...
Move the slider to the right until you see a black & white drawing of the image. In my example a Threshold Level of 180 was enough.
Here's the result:

Go to the tool bar and select the Pencil Tool ![]() and set the foreground to white by pressing X on your keyboard (this switches the fore- and background colors)
and set the foreground to white by pressing X on your keyboard (this switches the fore- and background colors)
Now remove some a the few distracting pixels by clicking on them with the pencil tool. Make sure that you zoom in and that you use a small sized pencil.

Here's another example:


Have fun!